


Ever had your hair clipper jam mid-trim? It’s the worst. Hair and gunk pile up fast, turning your trusty tool into a sluggish mess. I’ve been guilty of skipping cleanup after a quick buzz—yep, rookie move. A little TLC keeps your clipper humming, saves you cash, and makes every cut crisp. We’ll walk through why cleaning’s a must, how to do it right, and toss in some tricks to keep your clipper going strong. Trust me, a few minutes now beats buying a new one later.
Your clipper’s a champ, slicing through hair like nobody’s business. But skip cleaning, and those bits of hair stack up. Blades dull out. The motor grumbles. It’s not just about a neat look—it’s about keeping things safe and smooth. Clogged blades snag hair instead of cutting clean. That means irritation or even nicks. Not cool, especially if you’re trimming a client or your furry buddy’s coat.
Grime also invites germs. Hair gel or spray leaves a sticky film that grabs dust. Left alone, it’s a recipe for gross. I know a barber who ignored this—his clipper got so nasty it started pulling hair, and clients bailed. Word from the pros? Regular cleaning slashes repair bills by half. That’s money in your pocket. A clipper that’s cared for sticks around way longer, whether you’re buzzing at home or running a shop.
Here’s the deal on why cleaning’s key:
Crisp cuts: Clean blades glide easy, giving you sharp results every time.
Tougher tool: Less motor strain means it won’t quit on you.
Clean vibes: No one wants germs spreading, especially with shared clippers.
Wallet win: Fewer fixes and replacements save you big.
Pet groomers swear by this too. Trimming a shaggy pup like a Samoyed? A clean clipper avoids knots and keeps fur tidy. Plus, in summer, a quick trim keeps pets chill. Cleaning’s not just a task—it’s what keeps your clipper ready for action.
No need for a big setup. You’ve probably got most of this stuff already. If not, it’s cheap to snag.
Soft brush (like that old toothbrush in the drawer)
Clipper oil (comes with most models or grab it online)
Mild soap or clipper spray cleaner
Clean rag or paper towels
Compressed air can (optional, but awesome for tight spots)
Rubbing alcohol to zap germs
Keep it simple. Just dry everything before putting it back together. Nobody wants a rusty clipper ruining their day.
Let’s dive in. This takes maybe 10 minutes once you’re used to it. Barbers, clean after every client. At home, hit it monthly or after each trim. Here’s the lowdown.
Safety first—pull the plug. Cordless? Pop out the battery or let it cool off. Take off the blade guard and any combs. Most clippers have a quick-release for blades. Not sure how? Peek at the manual. Lay a towel down to catch the mess. I skipped the towel once—hair everywhere. Never again.
Grab your brush. Sweep hair off the blades and body with light strokes. Don’t shove debris deeper. Compressed air’s great for those tricky corners. Keep your fingers clear—blades can bite, even if they seem worn.
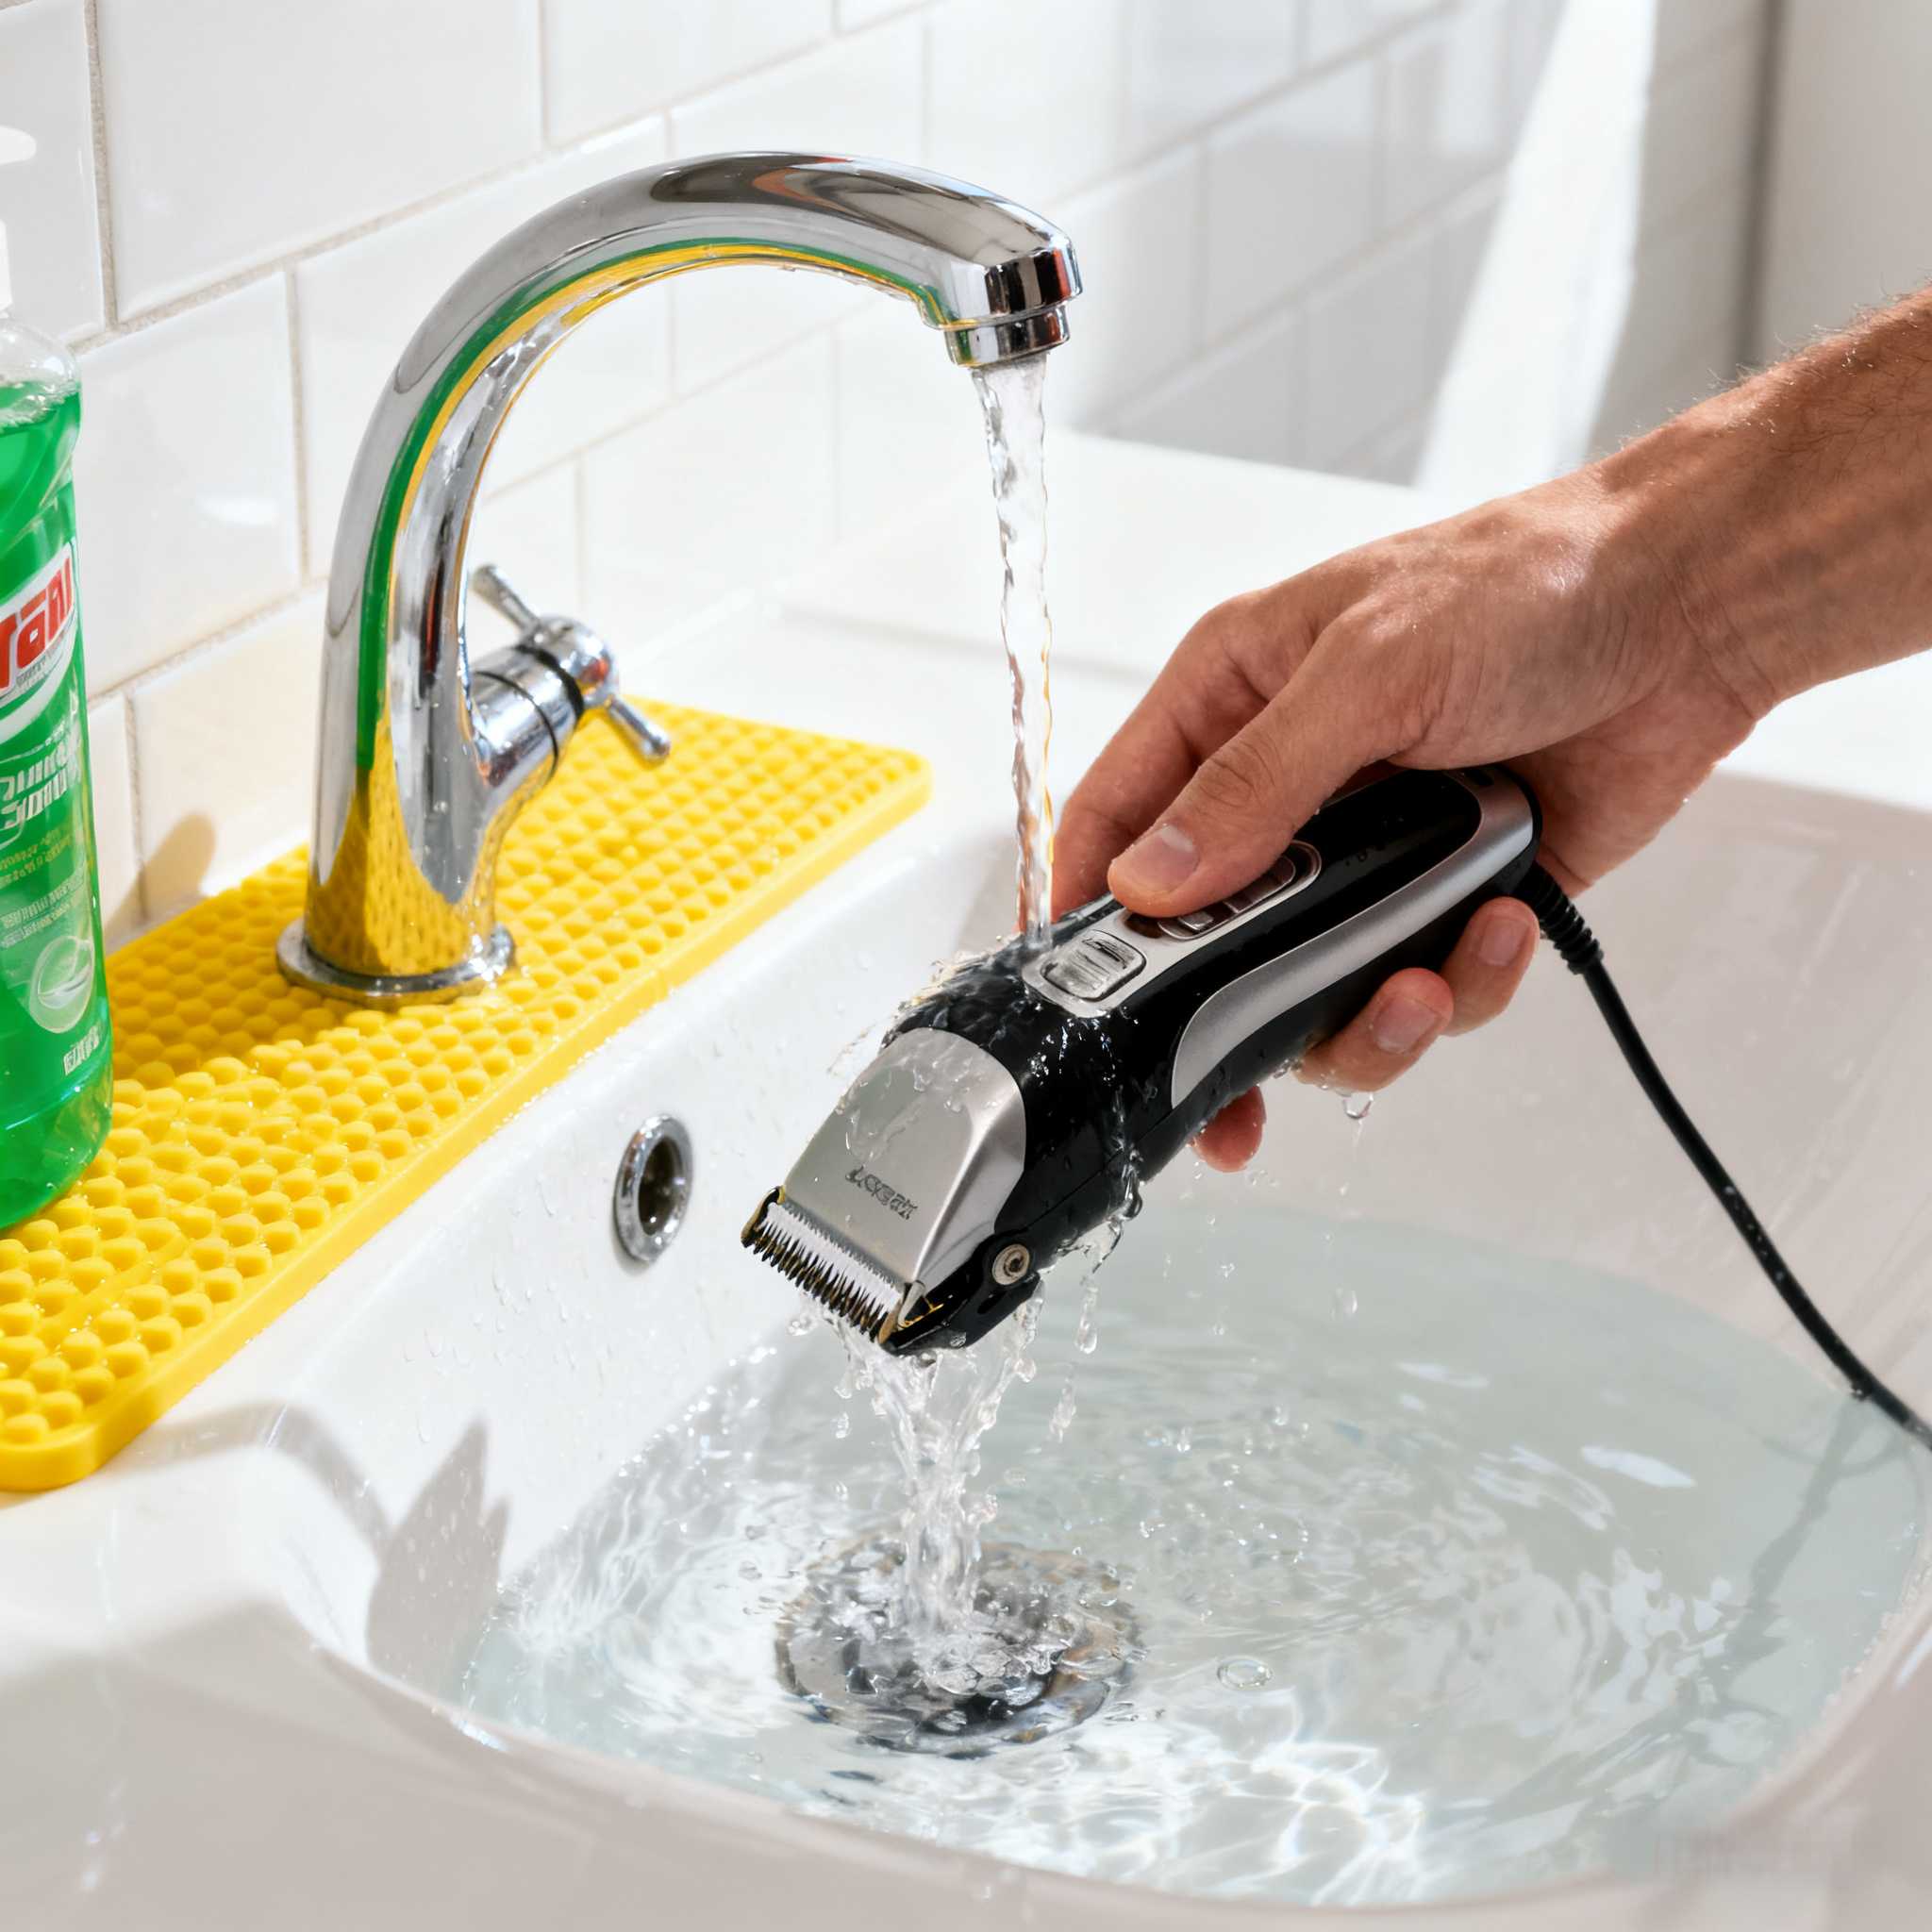
Mix mild soap with warm water in a cup. Dip just the blades—don’t soak the whole clipper unless it’s waterproof. Scrub gently. Rinse under a faucet, then pat dry with a rag. Got an IPX4 rating or better? It’s splash-proof, so you’re good. Always check—dunking the wrong parts is bad news.
For extra clean, swipe the blades with rubbing alcohol. It dries quick and kills bugs. I lean on this after oily haircuts—it cuts through that greasy buildup like magic.
This step’s a game-changer. Drop three or four beads of clipper oil along the blade edges. Flip the clipper on for 15 seconds to spread it around. Wipe off extra oil with a rag. No drips, please. Oil keeps things slick, so blades don’t grind down fast. Forget this, and you’ll get tugging or patchy cuts in no time.
Snap it all back in place. Plug it in or power up. Give it a quick buzz. It should purr, not growl. Hear something weird? Oil it again. Store it somewhere dry, maybe with a cover to block dust. Live somewhere muggy, like by the ocean? Toss a silica packet in the bag to fight dampness.
Boom—your clipper’s good to go. My first try was messy, but now it’s no sweat. You’ll nail it too.
Barbers or pet groomers, listen up. Go extra every couple of months. Soak detachable blades in clipper cleaner for 10 minutes—Barbicide’s a solid pick for shops. For the motor, use a vacuum tool to suck out dust. Don’t pry open the body unless you’re handy with tech.
Here’s another gem: sharpen blades now and then. Worn blades stress the motor, killing battery life. Pros can sharpen them, or grab a DIY kit if you’re feeling bold. Cordless clippers? Wipe battery contacts with alcohol for solid charging. I’ve heard from techs this can stretch your clipper’s life by a year.
Random aside: clippers heat up during long sessions, right? That’s often gunk at work. Deep cleaning keeps them cool, which saves the motor from burning out.
We all goof sometimes. Steer clear of these to keep your clipper happy.
Don’t splash water on non-waterproof parts. Rust or shorts will ruin it.
Don’t ditch the oil. Dry blades wear out quick and yank hair.
Don’t crank screws too tight. Snug’s enough—overdoing it wrecks threads.
Don’t skip the combs. They trap hair too, so clean them separate.
Don’t stash a damp clipper. Dry it well to dodge mold.
Nip these in the bud, and you’ll skip pricey fixes.
Stick to a plan, and your clipper will love you. Check this table for your routine. Adjust as needed, but don’t slack.
| Usage Level | Basic Clean (After Use) | Deep Clean Frequency | Oil Blades | Replace Blades/Parts |
| Home (1-2x/month) | After each use | Every 3 months | After each clean | Every 6-12 months |
| Professional (Daily) | After every client | Monthly | Daily | Every 3-6 months |
| Pet Grooming (Weekly) | After each session | Every 2 months | After each clean | Every 4-8 months |
Pop a reminder in your phone. Shops say folks who stick to schedules see 30-40% fewer problems. That’s a no-brainer.

Quick shoutout to SUOKE Electric. They’re out of Yiwu, Zhejiang—a spot buzzing with cool businesses. SUOKE’s been crafting killer personal care gear for ages, especially electric hair clippers. Their stuff’s built tough, with stainless steel or ceramic blades that hold their edge and motors pumping around 10W. Batteries last up to 3 hours. It’s all CE and ROHS certified, so you know it’s solid.
Need one clipper for home or a batch for your salon? SUOKE’s your guy. They do custom jobs like OEM/ODM, letting you tweak designs to match your style. Their clippers fit great in your hand, with comfy grips and slick features like speed controls. They ship worldwide—Europe, Southeast Asia, everywhere. Best part? They keep prices low without cutting corners. Swing by their site to find a model that clicks for you.
Look, cleaning your hair clipper isn’t just some boring task. It’s how you keep it sharp, tough, and ready for action. Stick to these steps, skip the slip-ups, and your clipper will stay in the game. You’ll get cleaner cuts and fewer headaches. Next time you finish a trim, don’t chuck it in a drawer. Give it a quick scrub. It’ll keep your haircuts tight and your bank account happy.
Depends on how much you use it. At home, clean after every trim. Barbers, wipe it down after each client and deep-clean monthly. Keeps it running like a dream.
Stick to mild soap or clipper sprays. Harsh cleaners can mess up blades or the motor. Rubbing alcohol’s awesome for germs, but dry it good.
Oil the blades again. Still bad? They might need sharpening. Clean your hair clipper well and swap blades every 6 months to make it last longer.
Only if it’s got a waterproof rating like IPX4 or higher. If not, use a damp rag. Good cleaning keeps your hair clipper going strong.
Totally. Gunk makes the motor work harder, sucking battery faster. Regular cleaning lightens the load, making your hair clipper last longer.
