
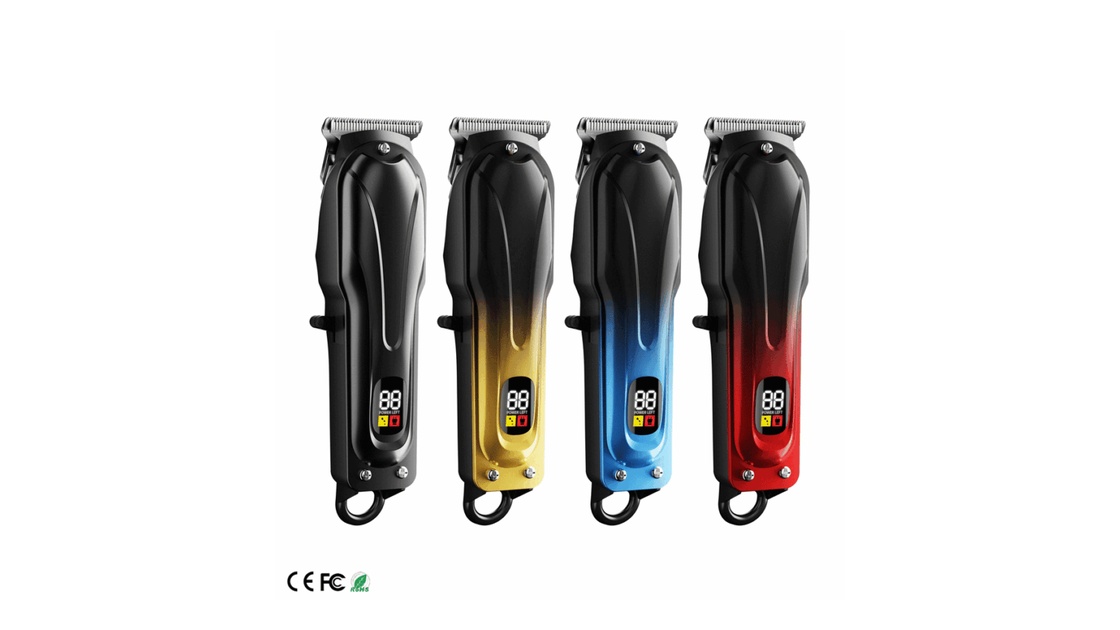
An importer who finds a chipped clipper tooth has an unusable cutting assembly and an unanswered question about the next order. If the blade struck something inside its box, the packing deserves attention. If parts of the blade assembly were interfering, new packing won’t resolve that problem. And if the tooth was already broken at the packing station, neither explanation accounts for its origin. The package and clipper need to be examined as they arrived.
Get the camera view before reaching for the adjustment screws. A receiving inspector and a technician need to be looking at the same starting arrangement, not one photographed only after it has been straightened. The same applies to a cover found lying loose beside the clipper. Putting it back on neatly makes a better product photograph and a worse record of the arrival condition.
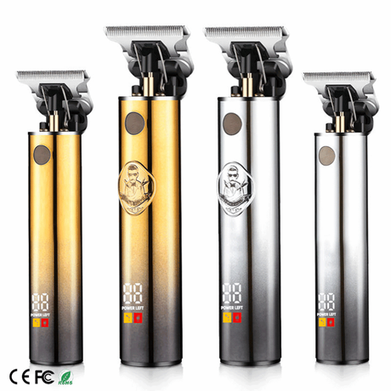
Identify the stationary blade and the moving cutter on the pictures. A conventional clipper uses both, and a report that says only “blade tooth broken” may leave the supplier looking at the wrong component. Take a wider view of the mounting area as well as close views of the teeth. Try another lighting angle if reflections hide the edge.
Keep fragments from the tray or cover, identifying the package each came from. Neither the fracture surface nor the damaged tooth should be cleaned up for presentation. Filing it would change the part being examined. There is no need to test it on a person or animal; retain the failed assembly and use a sound sample for any permitted functional comparison.
With the package still arranged as received, consider the space available around the cutting edge. Could an accessory reach it? After losing its cover, how far could the clipper move before the teeth met something solid? Work through that space using the arrival photographs and corresponding marks. “Loose packing” is too broad a description to locate the contact.
Suppose the missing tooth is on the left edge. An accessory held securely on the other side is a poor explanation unless there is some further evidence connecting it to that edge. An item lying beside the left edge, with a corresponding mark, offers a more specific lead. The sample history is still needed to place that contact before packing, in transit, or during unpacking.
The carton’s condition belongs alongside those findings. Its outside walls show neither the original blade condition nor exactly how the contents were restrained. For the earlier condition, look for a pre-shipment view close enough to show those teeth. An image of the closed retail box cannot answer that question.
If the investigation points to movement inside the tray, compare the existing packing with the proposed correction using equivalent kits. Agree the handling or transport test first. Include tooth photographs on both sides of the trial, with views of the accessories and covers in place. The result should show what the revised insert prevented, rather than just how much thicker it was.
Power stays disconnected for the initial view of the mounting and blade positions. Put the model’s alignment illustration beside the sample and examine their correspondence, including parallelism and any damaged mounting point. Remember what the still photograph leaves out: the cutter’s movement through the rest of its stroke.
Include any subsequent adjustment in the history sent with the clipper. The technician’s corrected position needs the earlier receiving view beside it if the supplier is to compare the two. Refer service work to a qualified technician using the manufacturer’s procedure. Leave the damaged assembly switched off rather than running it for a complaint video.
A rub mark locates contact worth investigating. The examination still has to connect it to the fracture and establish their sequence. Keep the distinction in the report. Alignment dimensions should come from the purchased assembly’s instructions, not a convenient diagram for a different clipper.
Count units, not photographs. Put the quantity received beside the quantity examined and the number with damage. Group the pictures by sample history, keeping still-unopened examples apart from those handled for demonstrations or adjustment. The affected tooth positions can then be compared within those groups.
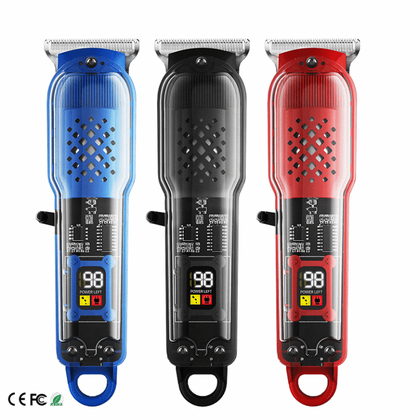
Use the blade identity behind the order when reviewing the hair clipper range. A similar-looking substitute brought into the inspection needs its own identification. Otherwise the comparison may quietly change from “failed and sound examples of the ordered assembly” to two different assemblies.
Decide with the supplier which stock remains held and what inspection will permit release under the purchase specification. Document whether sampling or full inspection is being used. A selection of visibly failed units describes those failures, not the prevalence of damage among all the units received. Apply the rejection criteria agreed for this purchase.
Repeated damage is a reason to ask what further examination the supplier will undertake. Material identification and the relevant manufacturing records can be considered alongside the fracture itself. If hardness or heat treatment is blamed, ask which examination established that connection. Those are possible investigation questions, not findings to enter without supporting examination. Replacement of the affected units can proceed as a commercial resolution while the technical cause remains open.
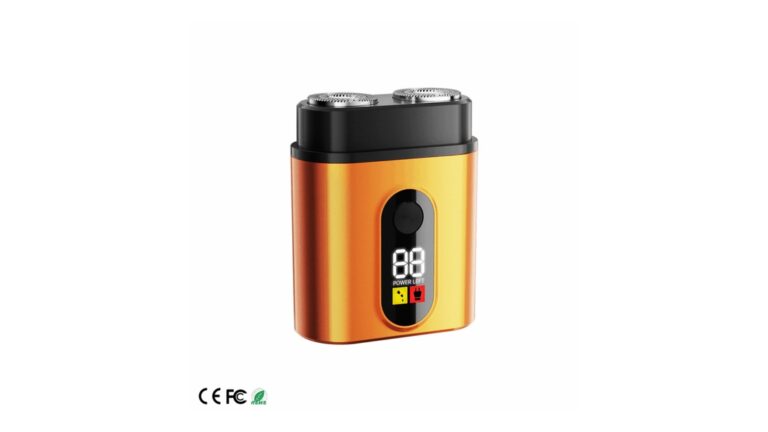
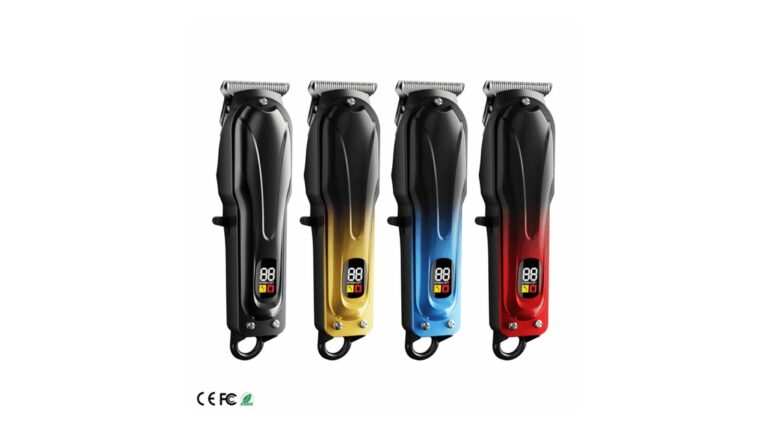
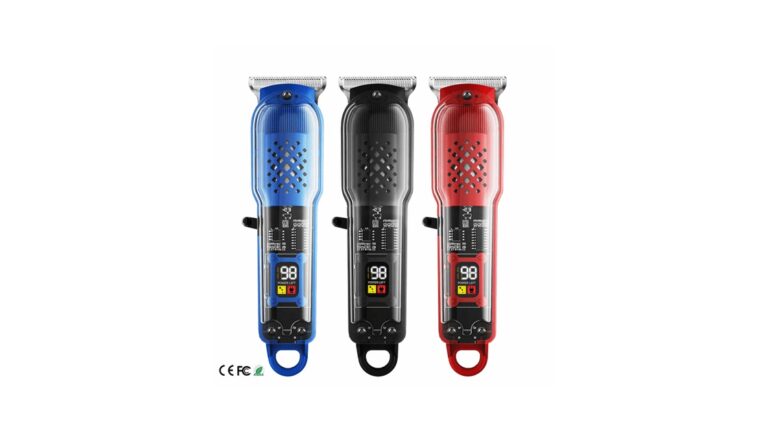
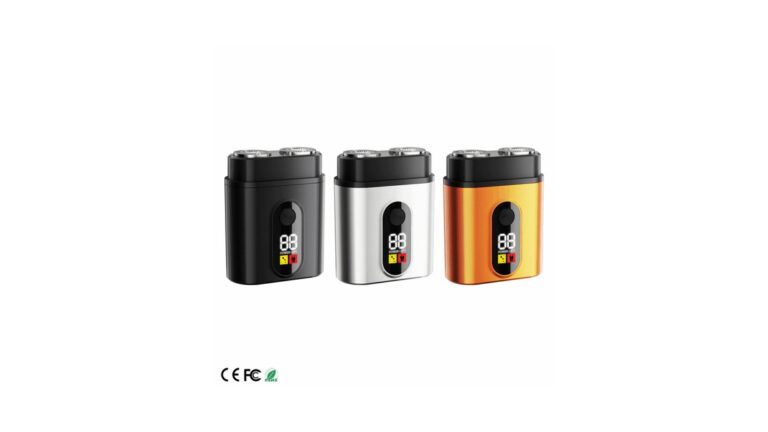
Hair clippers sit within the personal-care appliance offering of Yiwu Suoke Electric Appliance Co., Ltd.; OEM/ODM is among its cooperation options. Its cordless hair clipper set provides a configuration to discuss with the supplier. Send the assembly identity and arrival photographs through the project inquiry channel, requesting the matching replacement blade and its alignment instructions. Consult the service information for routine care, keeping the damage examination and agreed reinspection as the references for the corrective action.
Investigation starts with the sample still showing what the receiving inspector found. Preserve its arrival condition and trace the physical evidence into the package and mounting arrangement. Then test a correction addressing the supported explanation. Keep the commercial replacement separate from that conclusion: sound new blades fill the order, while the original fracture still needs its explanation.
Don’t return it to the usable stock. Obtain a compatible approved replacement or refer the part for qualified assessment. Filing changes its shape and the fracture surface. Retain it unchanged while the supplier needs it for examination.
The material description doesn’t establish the cause. Handling history and assembly position remain relevant. Ask what examination links the fracture to a material problem before accepting that explanation.
Include order and lot references, the received and inspected quantities, damaged quantity, and tooth photographs. State whether the unit was used or adjusted. Identify the package associated with any retained fragment.