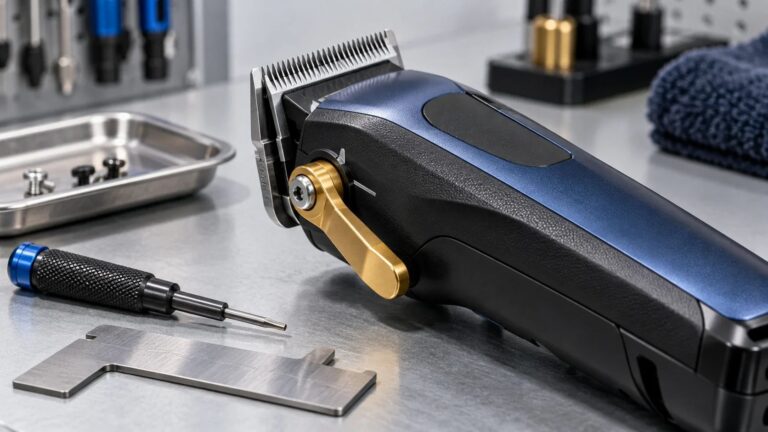
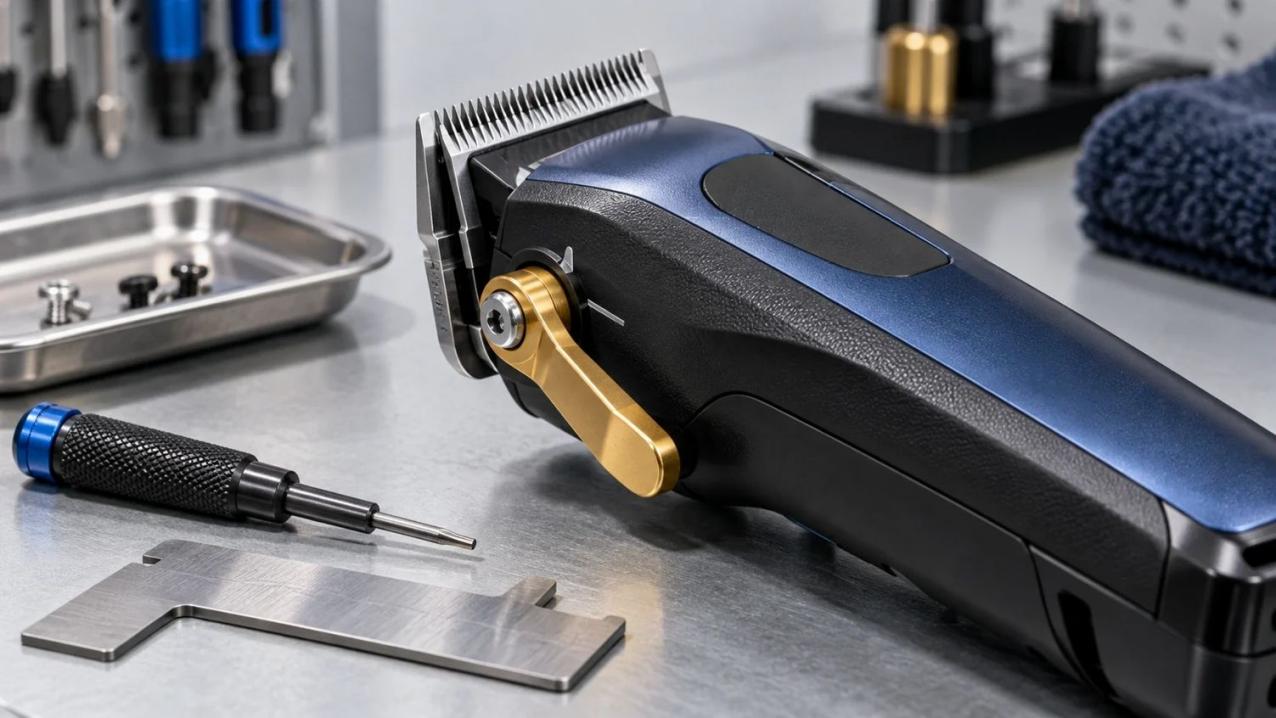
A taper lever can feel light without moving. Drift is confirmed only when the lever ends a pass away from its original mark. At that point the moving and stationary blades are no longer positioned as the operator set them.
Do not tighten the pivot based only on feel. First make the lever’s position visible enough to compare before and after use.
Place one half of a removable witness line on the lever and the other on the housing. Include the blade edge in both photographs so a change in camera angle is not mistaken for lever movement. The cutting passes should use an ordinary grip, with the thumb away from the arm; otherwise the operator could create the offset being investigated.
The broken line also records how the lever left its setting. Watch how the line separates. Slow separation through a pass suggests slipping at the joint. A sudden move into the next notch directs attention to the locating feature. Try the same grip with the motor off as well: pressure on a flexible case can move the mechanism before vibration enters the picture. That path should be resolved before motor vibration is blamed.
A setting that gives way while stationary already has a retention issue. Move an approved sample through the same region of travel and notice where its resistance builds or where a detent settles. A second unit from the batch helps show whether the chosen reference is simply stiffer than usual.
A finger can find the loose part of the travel. It cannot supply a force value for the purchase specification. Fix the clipper in a repeatable position and mark the place on the arm where the test force will be applied. A push near the pivot has less leverage than the same push farther out, so those readings cannot be compared directly.
The outer arm passes movement into the joint, where friction or a locating feature is supposed to resist drift. That function may depend on the pivot faces, a spring loading a washer, a bushing or detent, or a molded profile beneath the arm.
Take one side view that shows pivot height and another from above that shows the screw. Keep the approved unit in the frame where practical. Those assembled views give every exposed part a location after the joint is opened. A reversed washer changes the stack differently from a raised screw; thread damage, a weak spring, bushing wear, molding flash, a crack, or the wrong spacer each leaves another physical path to reduced holding.
Trace the mechanism onward until lever travel becomes blade movement. Free play there may let the arm travel before the blade responds. Contact at only one end of travel can also make the lever feel secure in one position and weak in another.
A click is only sound. A worn notch can still make a noise as the arm passes it. On a friction joint there may be no click to begin with. The witness mark supplies the useful result: if it stays aligned after cycling and powered operation, the setting held through that run.
A polished area beside the notch, a damaged edge, or a displaced spring can explain why sound remains after retention falls. Silence is expected on some friction designs and is not evidence of looseness by itself.
Draw another removable line from the screw head onto the surrounding part. The two lines now separate rotation of the arm from rotation of the fastener.
If the lever mark moves while the screw mark stays aligned, rotation occurred within the retention arrangement. When the screw line has moved as well, retain that view for the joint inspection. The screw may be turning in its thread, or the material holding it may have moved; opening the joint is what separates those possibilities.
Leave the screw untouched until the two marks have been photographed. A small turn at this stage would remove the evidence of its original position. During the later service adjustment, use the tool and torque given for this model. Binding is a reason to stop and examine the stack, rather than turn harder: the washer may be compressed or the thread support already damaged.
The final torque number cannot identify the screw or show whether the bit engaged its recess fully. Washer direction and assembly order matter too. A completed joint should be checked for both free travel and holding.
Thread-locking material may belong to the approved design. Adding it later does not explain a wrong stack, poor engagement, or an uncontrolled tightening step.
Keep the physical setup intact from the stationary observation to the powered and cutting stages. Do not change the blade, comb, housing, or selected motor setting midway.
Begin with the clipper off and inspect the line after ordinary handling. Then run the motor without cutting while hands stay away from the lever. Representative passes come last. If packed hair may obstruct travel, repeat the relevant stage after the cleaning allowed for the model.
Movement in the first stage means basic holding is weak. Movement only under power makes operational excitation more relevant. A shift during cutting but not during no-load running brings grip contact, housing flex, and cutting load back into the discussion.
Place the starting and ending photographs together. Add the run time and number of adjustment cycles. A unit from another carton or production interval shows whether the same pattern extends beyond one sample.
Describe the relationship between the marks before naming a cause. A moving lever beside a fixed screw supports one path; both lines moving supports another; an absent washer or cracked boss supplies physical evidence for a third. If neither line moves in the repeat run, the report should say the complaint was not reproduced rather than select a cause by assumption.
A finished photograph cannot preserve a hidden spring and washer stack. The approval record must identify the actual retention arrangement that went through the test.
Identify both ends of lever travel and which direction gives the closer cut. Retain the fastener, washer and spring order, assembly method, and the practical holding check. Assembly photographs or the physical approved sample are especially useful when the stack disappears below the arm.
At each end of the specified lever travel, check blade alignment after the unit has run. Then repeat the witness-mark observation following any blade service permitted for the model, since that work may disturb the nearby pivot stack.
Production checks should reproduce the approved contact point, start position, and number of lever cycles. A number taken from another clipper is a poor limit for this joint. Establish the range on the intended pivot, including whether adjustment remains free and blade positioning stays safe.
In the enquiry, ask specifically for the adjustable mechanism. A photograph of a similar clipper with fixed blades does not establish this feature. The retention arrangement, permitted blade service, and evidence required for a drift complaint provide that distinction.
Buyers discussing an OEM clipper with SUOKE Electric can use the hair clipper range to identify the intended family. Before testing a sample, check its service guidance for what may be removed and cleaned around the blade.
Through the contact page, they can send the requested lever feature, quantity, approved-sample reference, photographs, and observed movement.
The public category page does not confirm an adjustable taper lever or a retention value for a particular model. Confirm that feature directly before treating a listing as the project reference.
The lever line tells whether the setting shifted against the housing. The screw line tells whether the fastener joined that movement. Compare both after stationary handling, no-load running, and cutting. The stage and part that move will determine where the inspection should continue.
It changes the relative blade position within the clipper’s designed range. Guide combs remain necessary for larger length changes.
Yes. Try the reported grip on the unpowered clipper and watch the line. If it moves, there is already a problem to investigate without running the drive. Look at the joint and at any part of the case that deflects under the hand.
Keep the assembled views and both witness lines. Then follow the specified adjustment and repeat the stage in which movement appeared. If the setting now holds, compare the retained joint record with the adjusted condition before deciding whether tightening, washer position, or another disturbed part made the difference.
A lever can slip around a screw that has stayed put. A second line across the screw head makes that situation visible. Movement at the screw adds a different question: what allowed that fastener to turn or its support to give way? Keep the photographs from the run in which it happened, together with the cycle count and the joint as found. Otherwise, a later inspection can easily confuse screw movement with the arm slipping around it.